
I finished another clients Bible this week. I am very happy with how their Bible turned out. This whole process is fun for me, because I don’t even know how it is all going to turn out until I am done. Praise the Lord, He has blessed me with this skill, along with blessing Eric Bond who owns EB Bibles who has helped me a lot and has been a huge blessing to me and my business.
This clients Bible is a Andrews Study Bible which is also a New King James Version. Lets walk through the process together with this rebind.
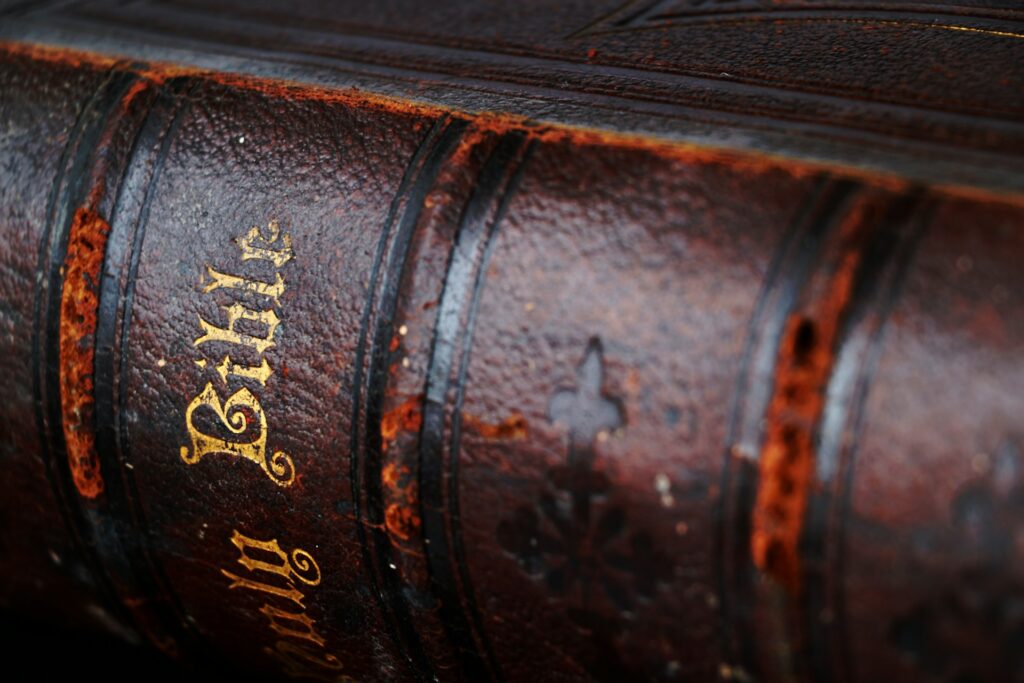
Here are some before photos of this client’s Bible.


The next step is to remove this cover and old spine material.

To achieve this result. This looks really nice.

Once the old spine material is removed, then the next step is to repair any torn pages, sew in flyleafs on the front and back. However, this client’s flyleafs were in great condition and there were several of them so I didn’t need to sew in any new ones. Flyleafs can be used to take notes on while you are studying or write thoughts down onto. Another use for flyleafs is for gluing the tab of the new leather cover onto to help secure the cover.
Then the ribbons are placed at the top of the spine and afterwards new book cloth is placed over the spine and over the ribbons. After that a new head and tail band are placed. Then it is time for an Oxford Hollow to be glued in place. The Oxford Hollow is exactly how it sounds. It is a piece of material, and there are several types of material that you can use for Oxford Hollows, which is folded in such a way to leave a hollow space in the middle. One side is glued to the spine of the text block and the other side eventually is glued to the new leather cover. This helps to create some structure and stability to the spine when the Bible is opened.
This is how the spine looks after it is finished being built back up. In this photo you will be able to see the head and tail bands, the Oxford Hollow along with the ribbons coming out from the bottom.

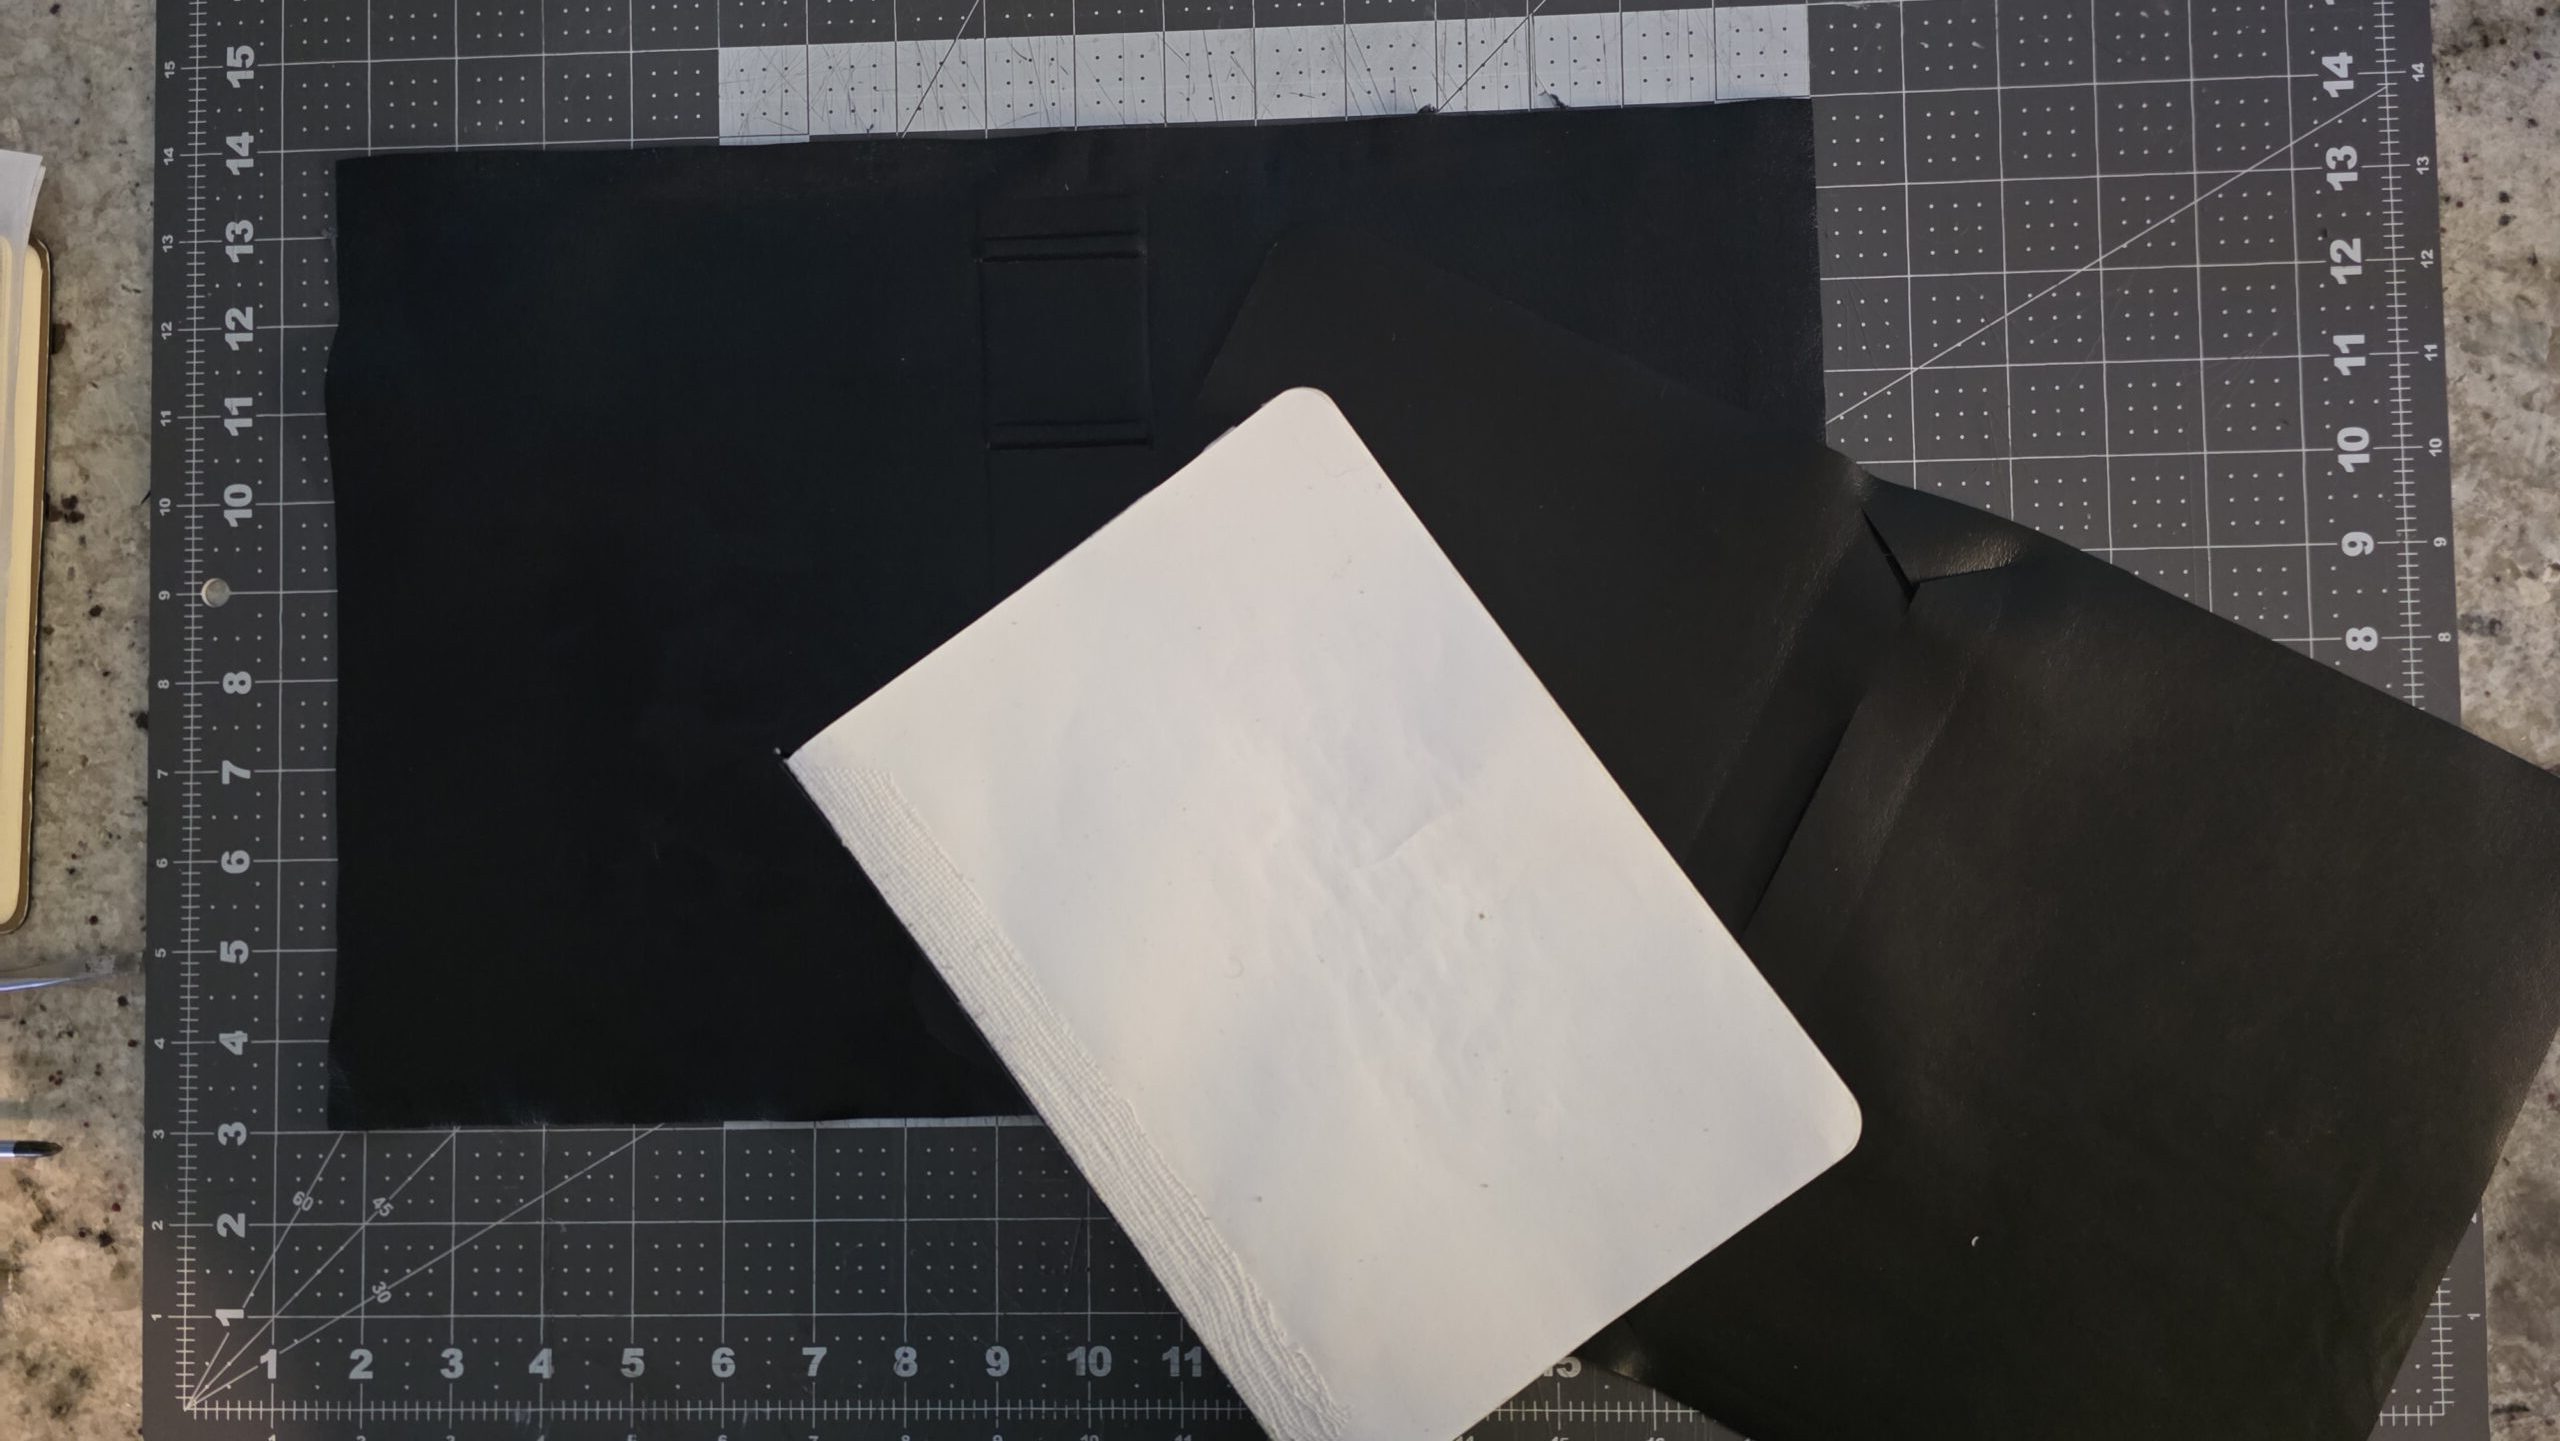
Now after going through and taking out wrinkles and dog eared corners and fixing any tears with special tape, it is time to work on the cover. The leather cover, in this case is navy blue Rivergrain Goatskin. The cover leather is cut out, and material is used to glue strips of leather cord to, which will then be glued to where the spine of the book will sit and be glued to. You can see that from those leather strips, I have created raised hubs on this cover. You will also see the liner in this photo. The liner is a navy blue Nappa Lambskin leather. In the center of the liner you will see that it is cut and there are tabs on either side of the cut. Those are the tabs that will be glued to the front and back of the bible over the book cloth.

During the process of making the cover and before gluing everything in place, I hand sew using a saddle stitch around the perimeter. This stitch is more for looks than holding the fold over in place. It does add additional support, but not needed due to the glue working so well.

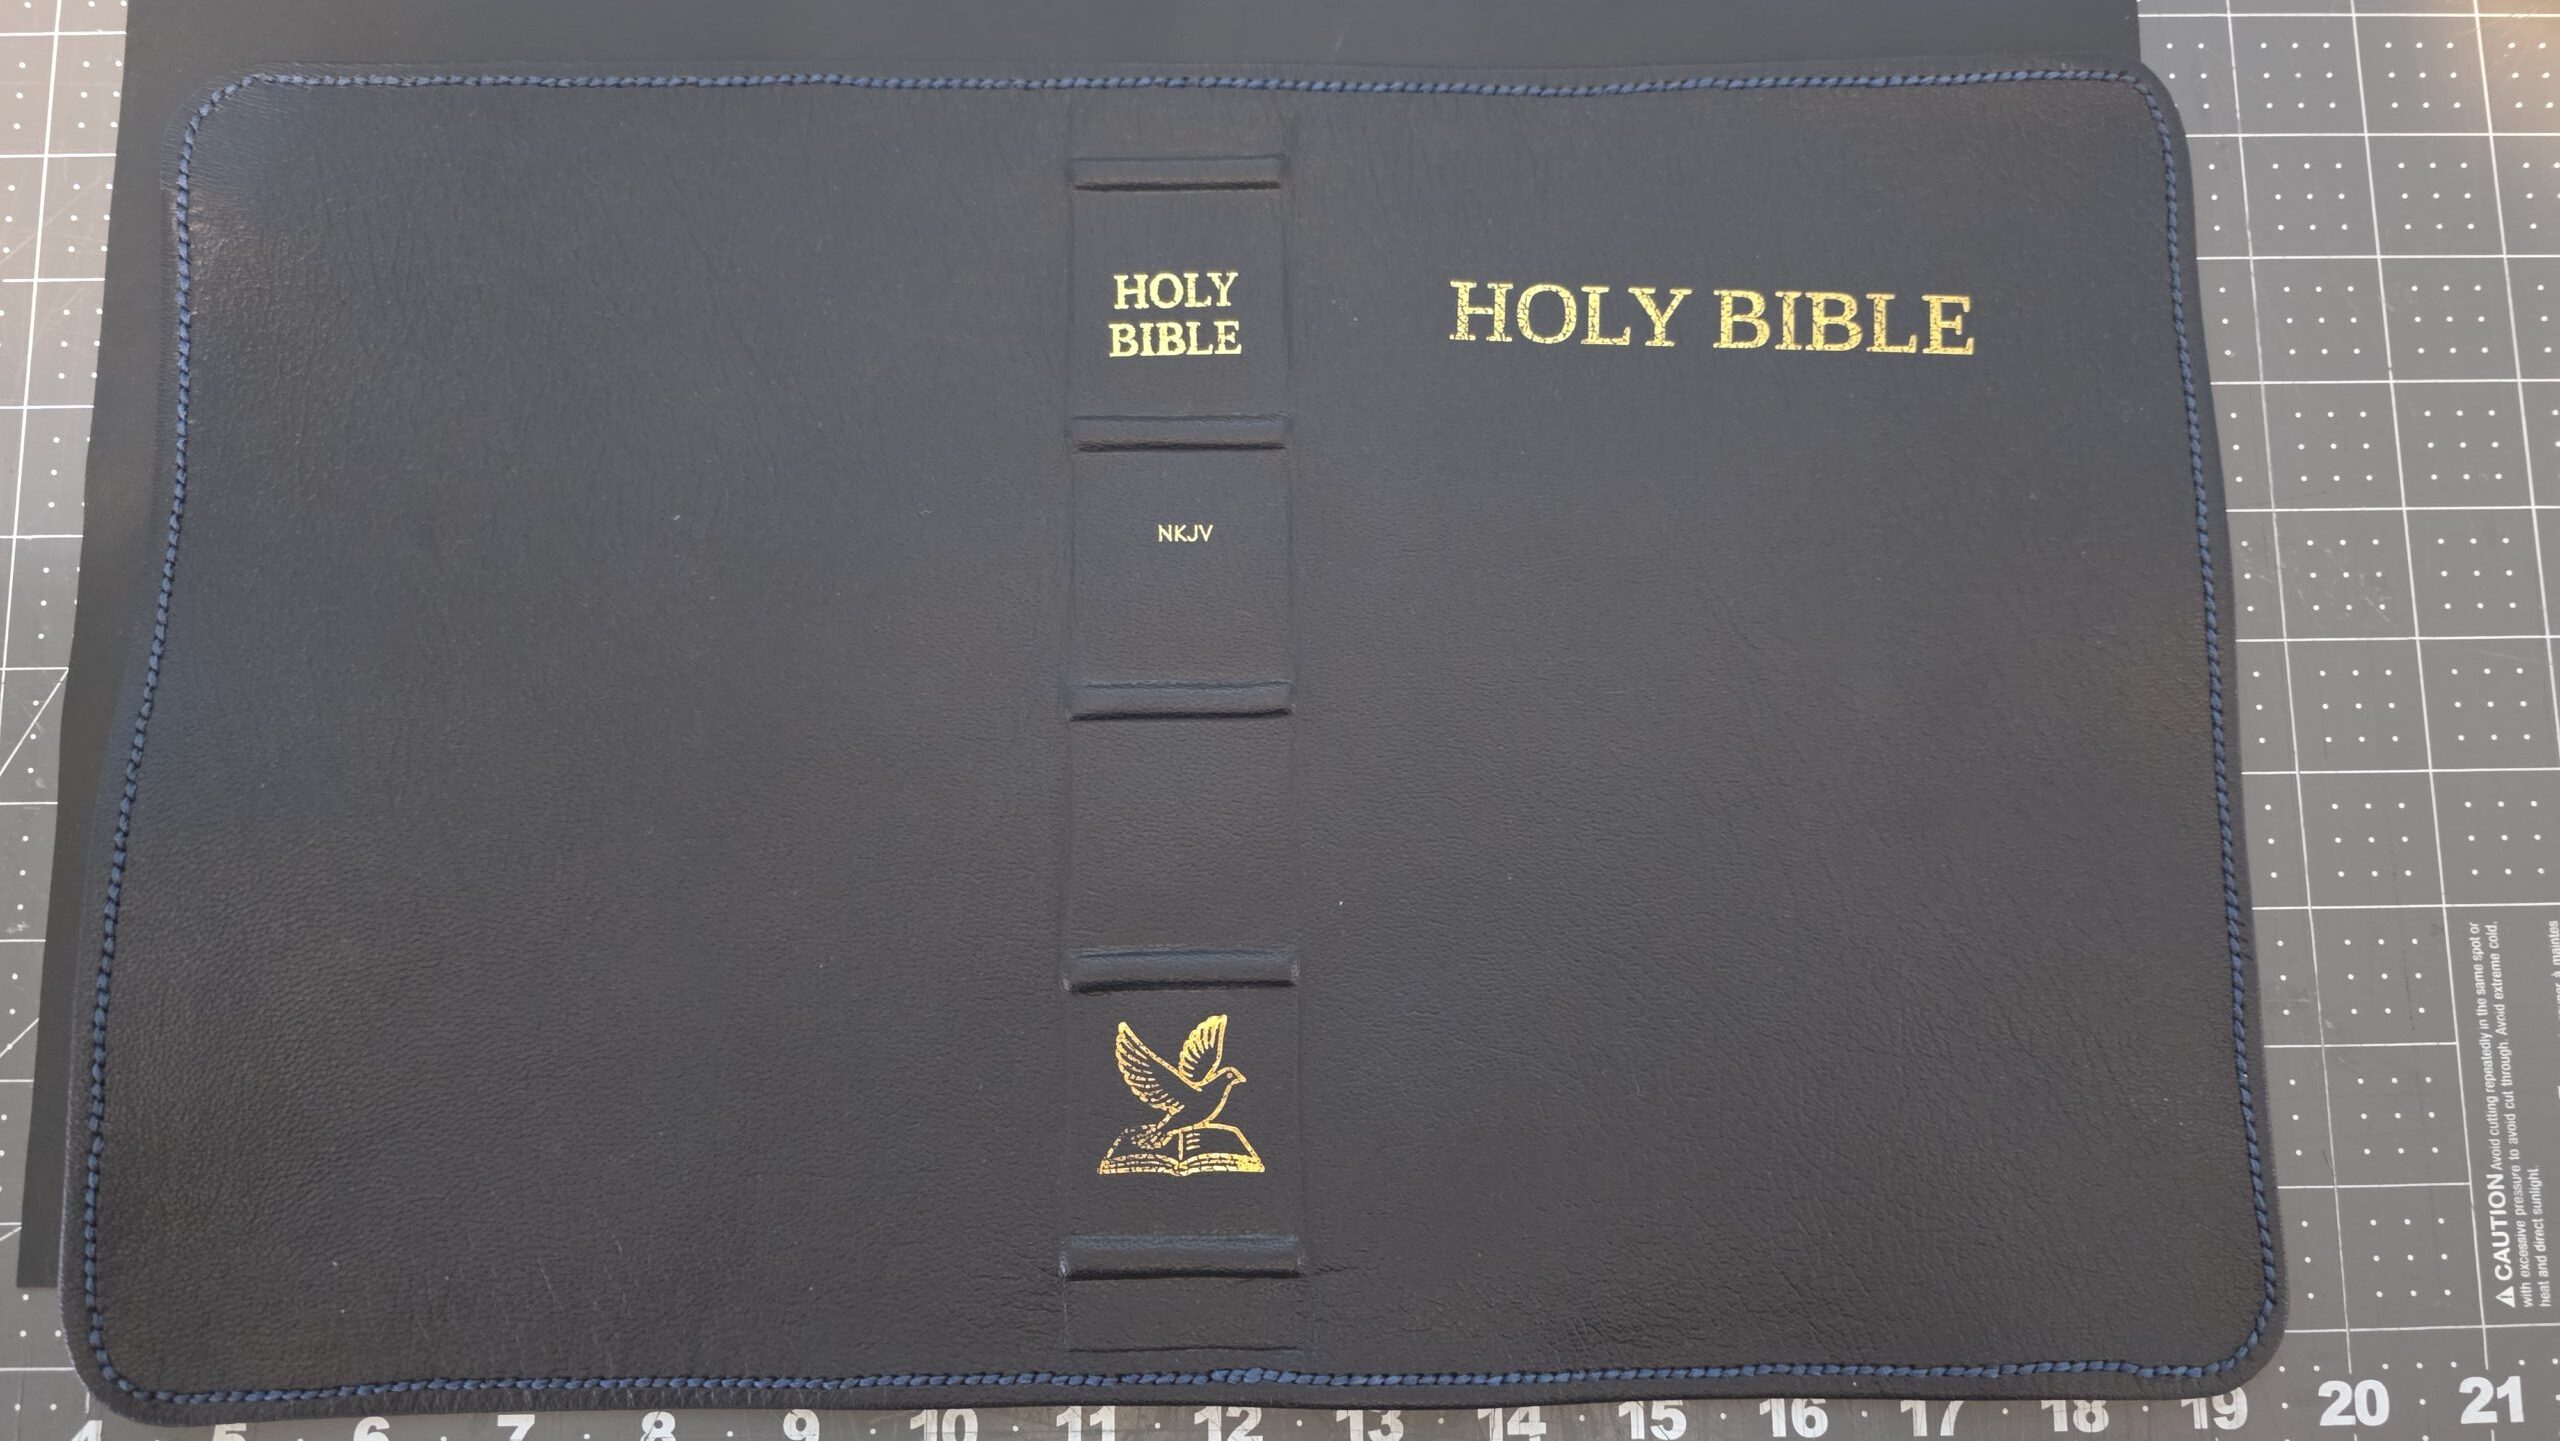
After the cover is completed, then it is hot foil stamped in gold or silver, client’s choice, on the spine and cover of the Bible. If someone wants to add on personalization, they can have their name hot foil stamped on the bottom right of the cover as well.
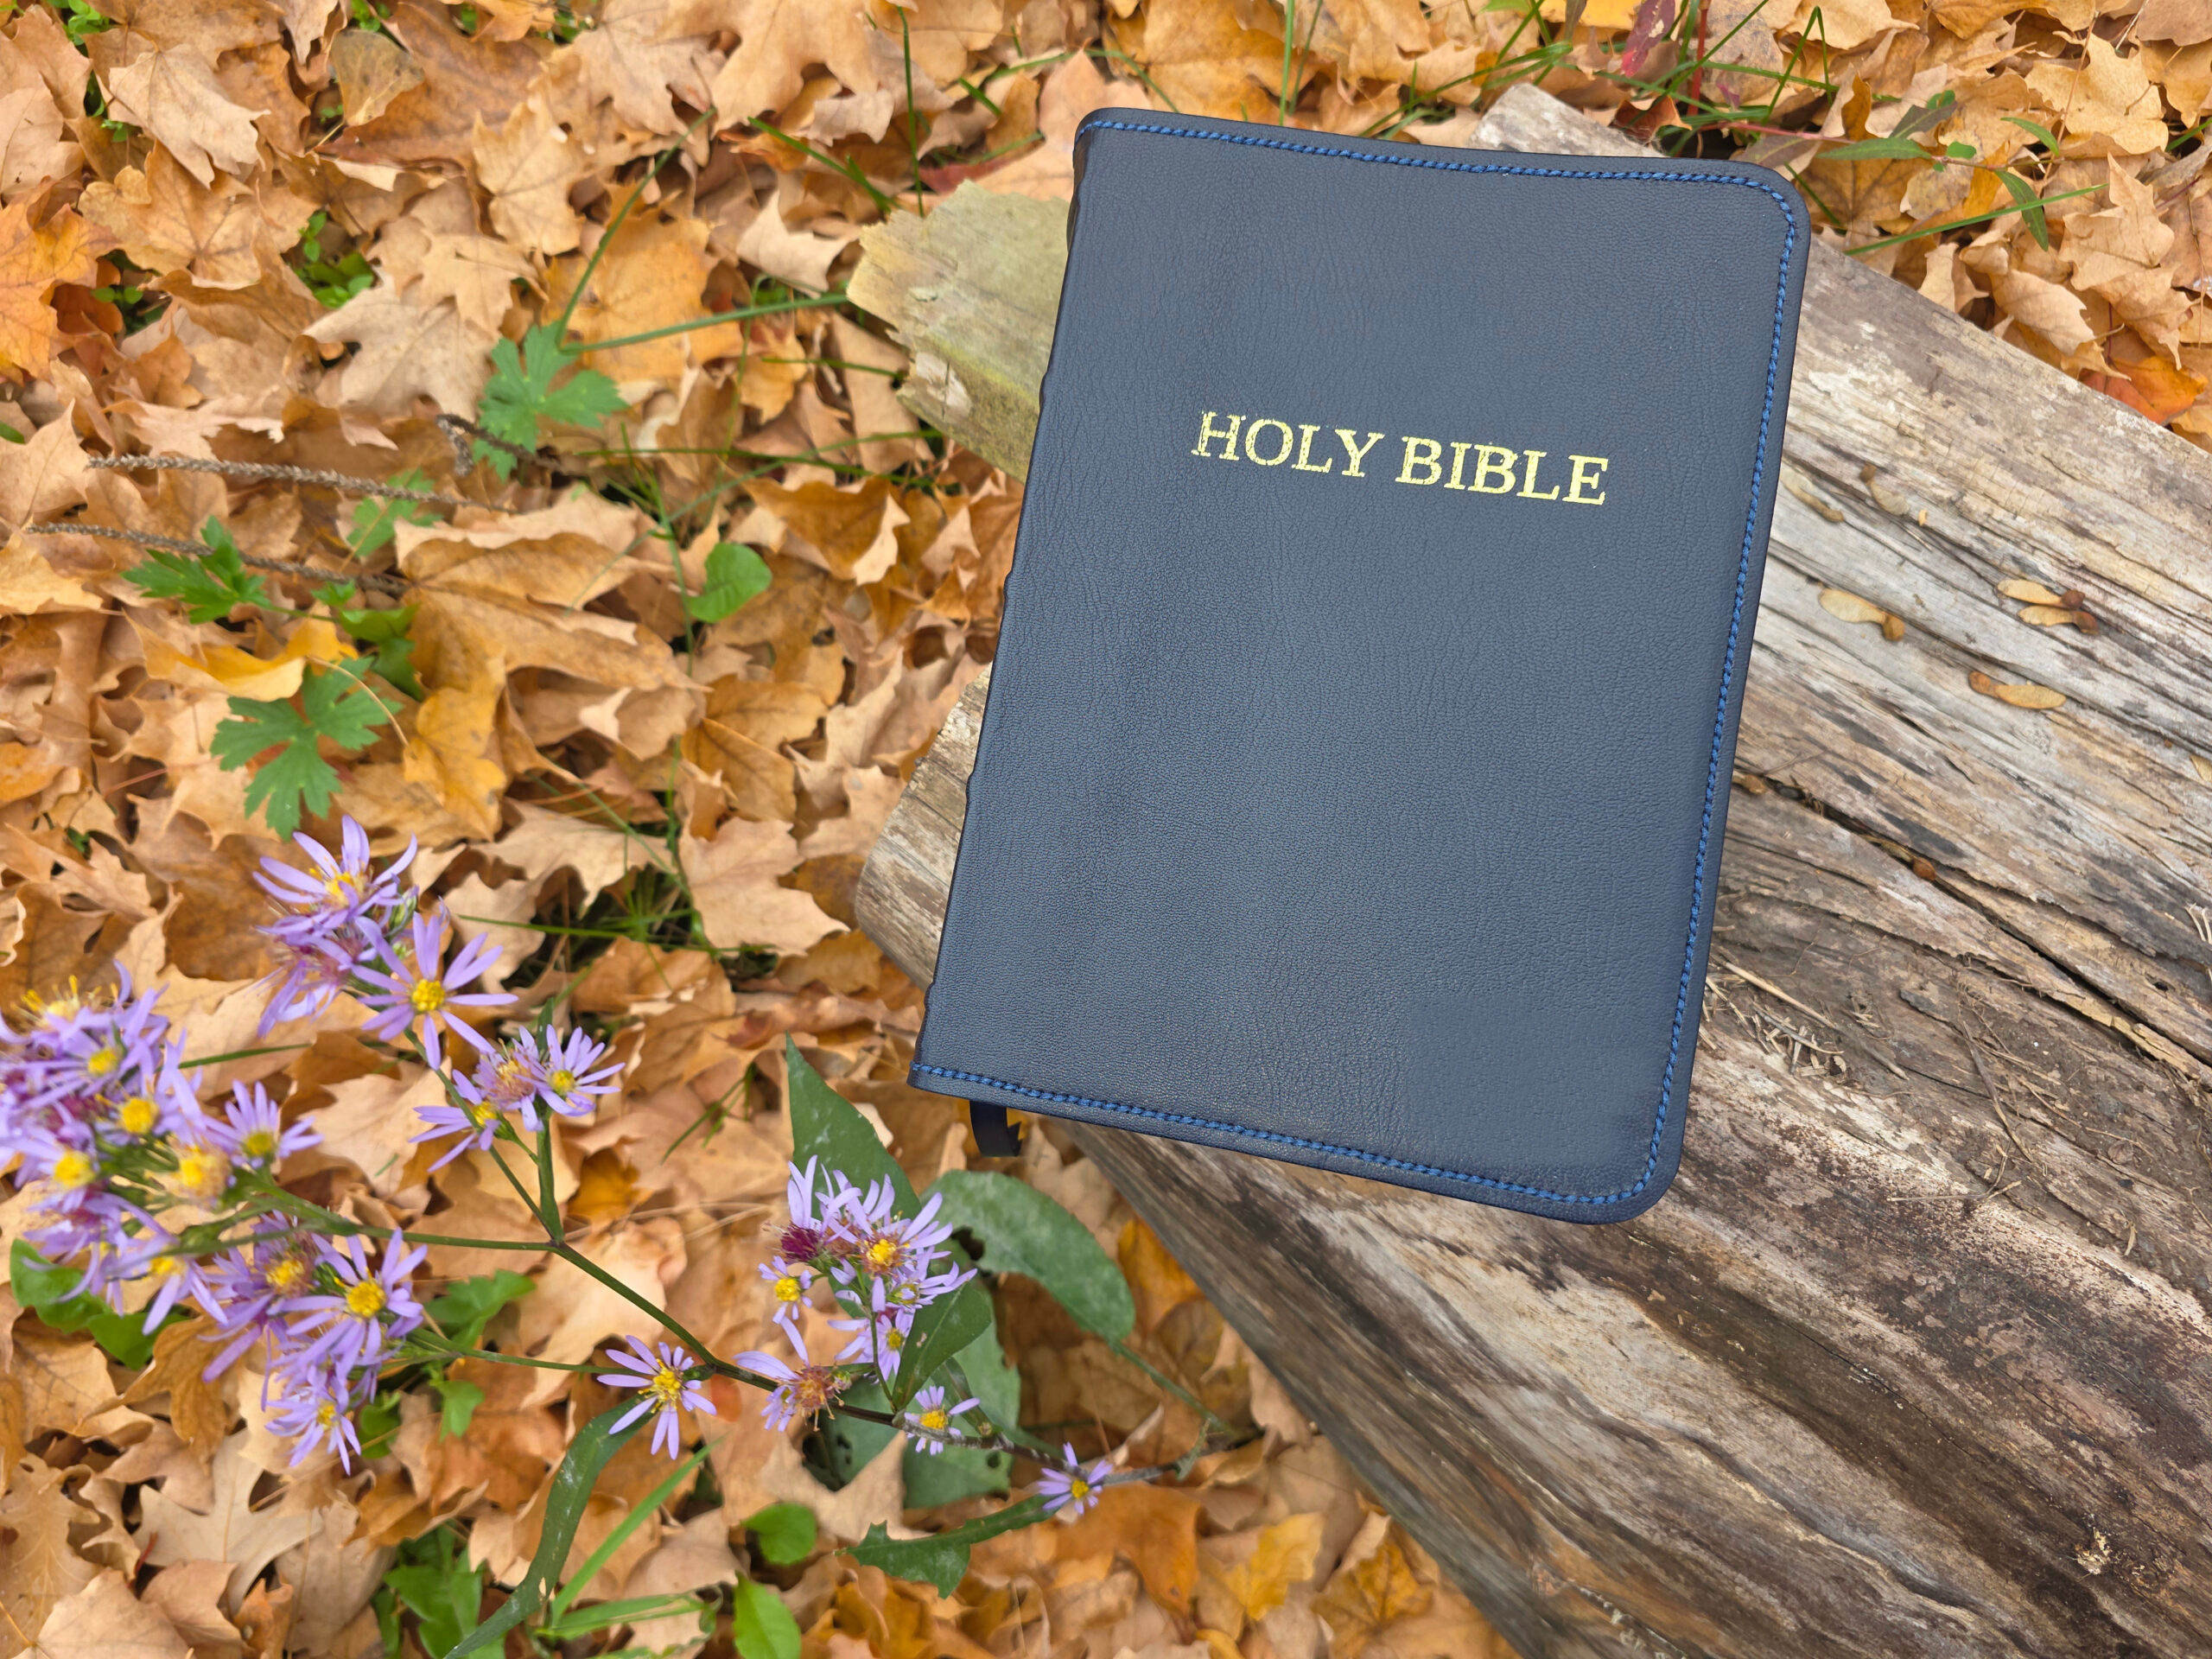
This is the final outcome after all of this is completed.


Thank you for taking the time to go through this journey with me. You can be rest assured that the same care and considerations will be done with your Bible as well. Take the time to request a quote to have your Bible repaired and rebound, or even if you have a new Bible and would like a new leather cover for it.
Thank you again and God Bless!
Chad
Grace Unbound
Leave a Reply