
I finished up a Bible where the client wanted to keep the existing cover. The cover was detached from the spine and was only holding on by a sheet of paper from the back of the Bible. I was able to repair this Bible and return it to the client in better shape than it was originally. Lets walk through this journey together to see how this process was completed.
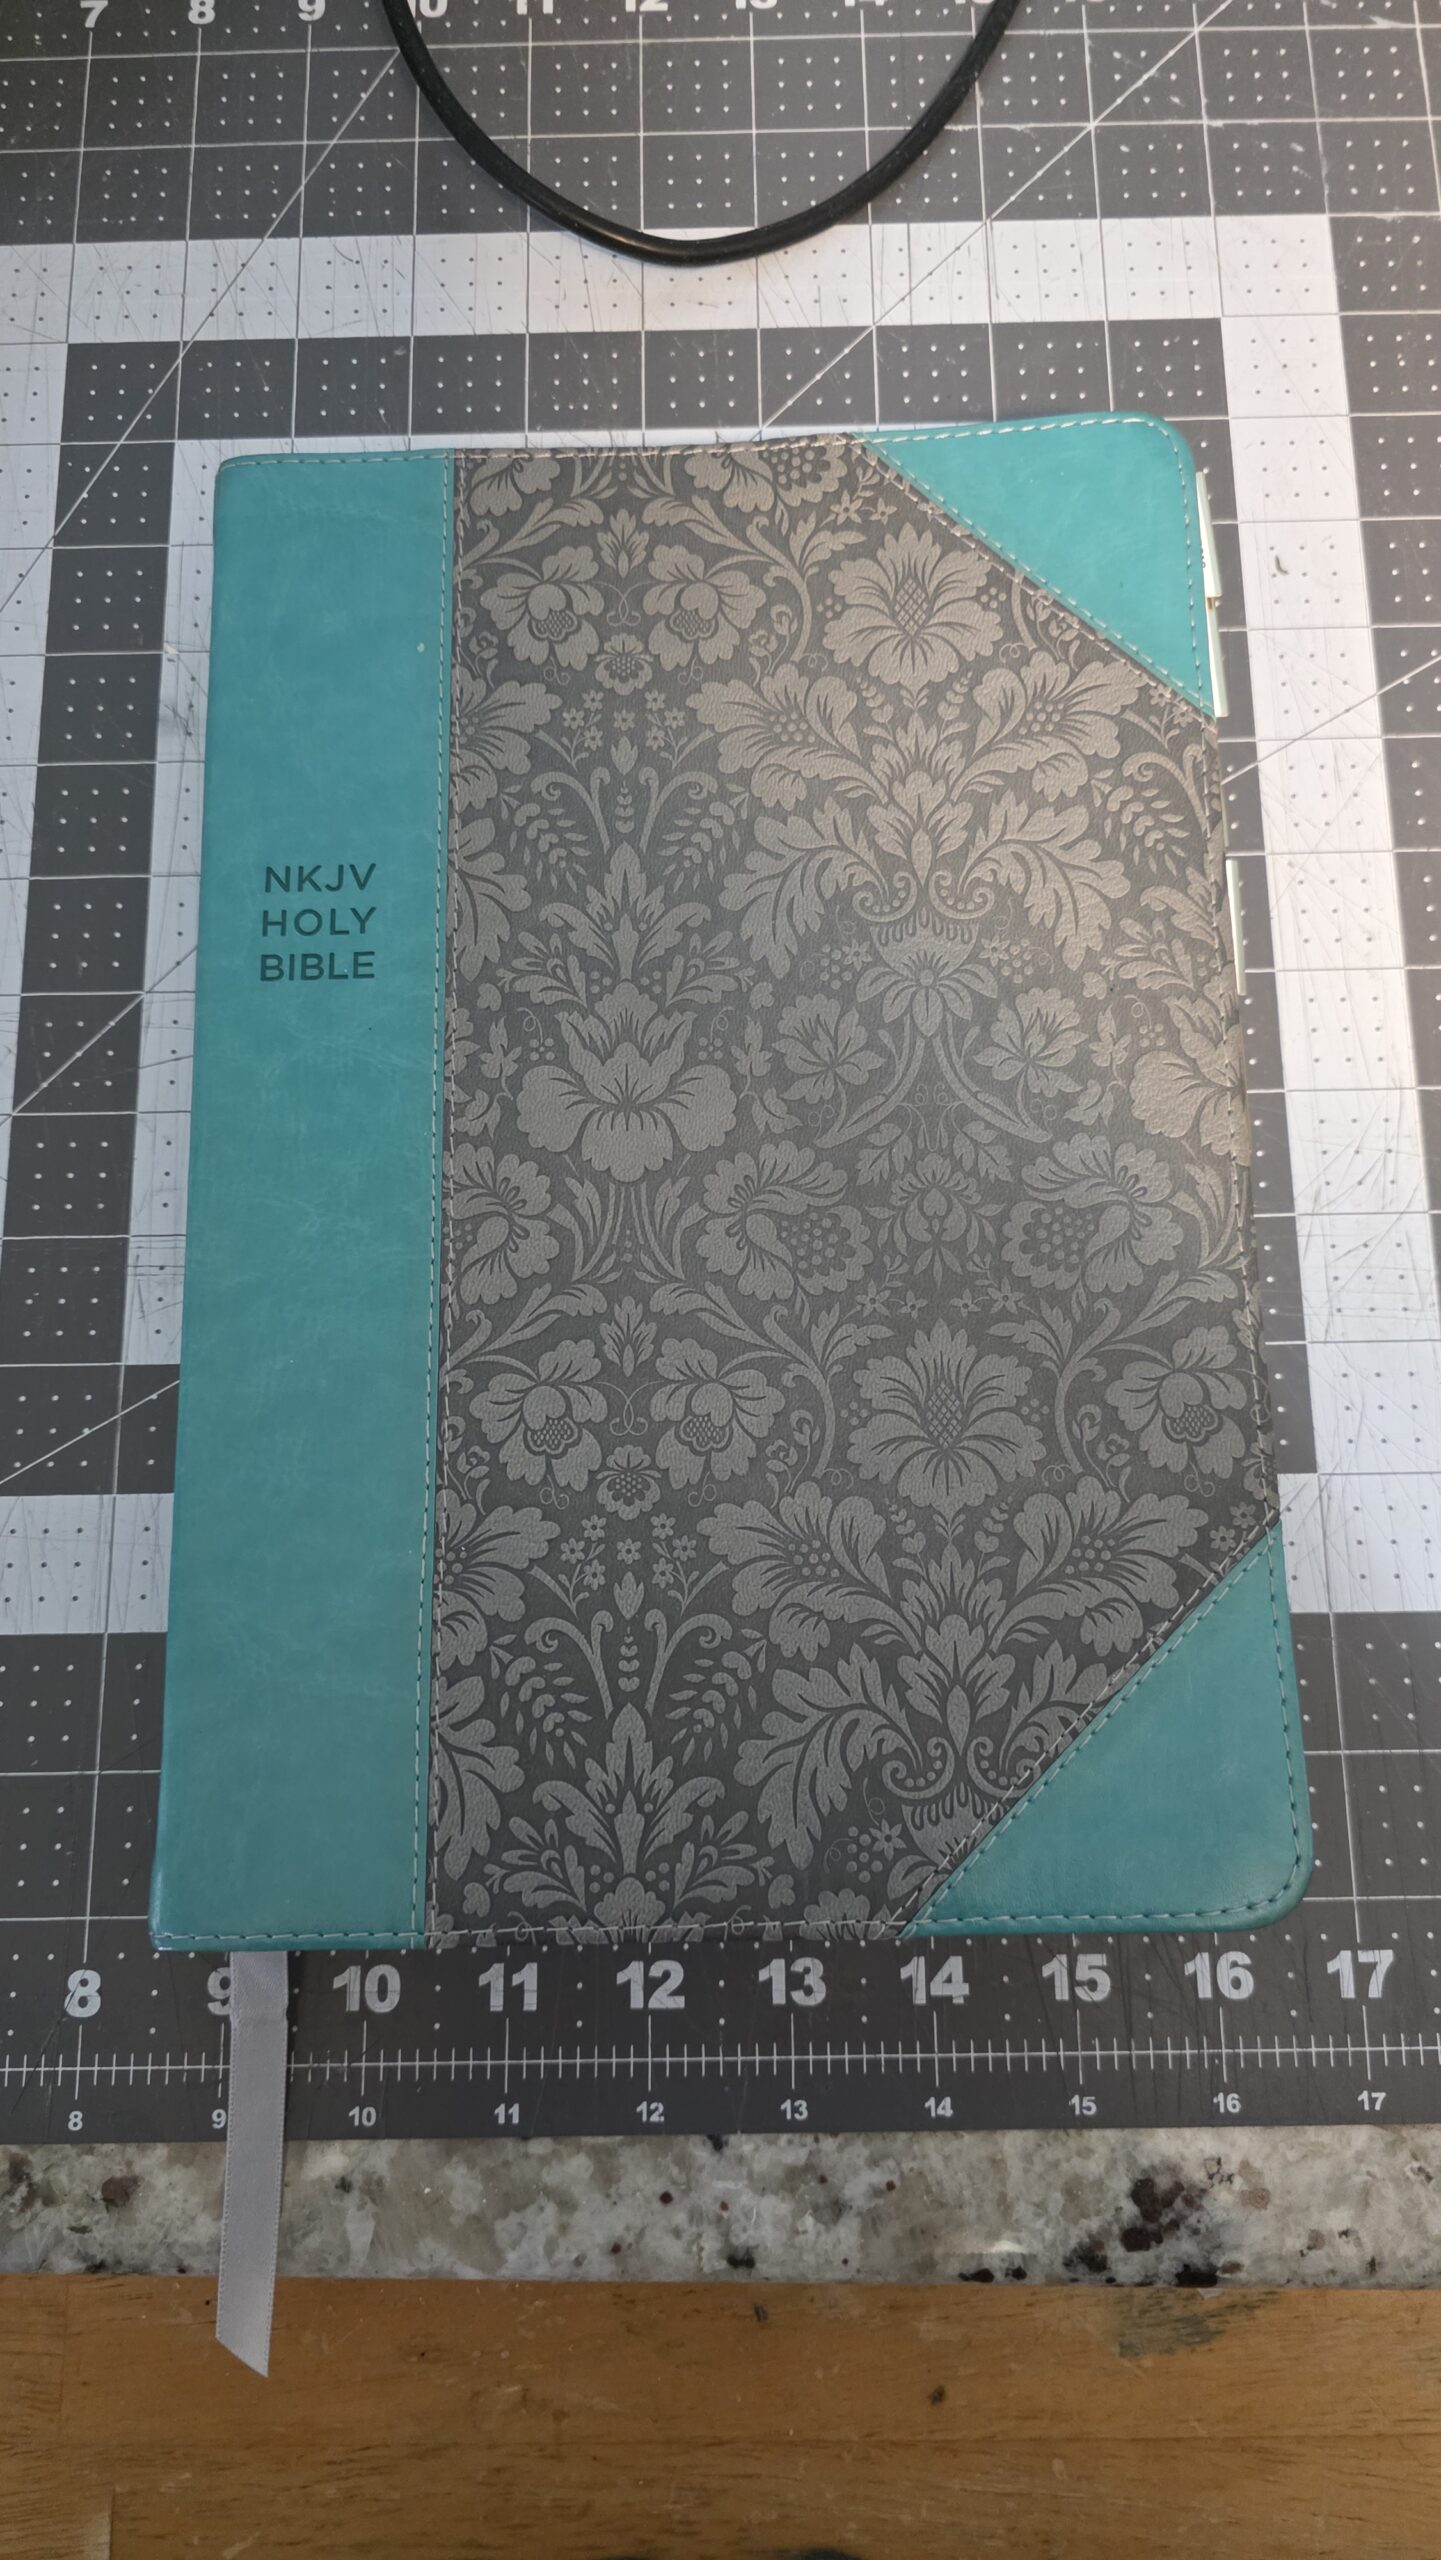
Here is the clients Bible before I started any work.


The first thing I did was to put the Bible in the book press and remove the old glue and backing. This process includes using a soldering iron at high temperatures to melt the old glue off of the spine.

Once the old glue and backing is removed, we build the spine back up. I apply fresh new PVA glue after we ensure the spine is nice and flat. I then glue the ribbons back in place. Normally when I glue the mesh, it will overlap and then I cut it down to approximately 1/4″ to 1/2″ so the mesh will glue to the new flyleaf page I install. In this case though the client didn’t want anything added or modified with her Bible. So I didn’t overlap the mesh and cut it to fit, covering only the spine. After gluing the mesh down, I glued the original head and tail band on the Bible. This last part that I added is called an oxford hollow.
What is an oxford hollow you may ask. Well, an oxford hollow can be made from construction paper, book cloth or any other kind of material. You don’t want it to be to bulky though. The function of the oxford hollow is to provide support to the spine so that when the Bible is open and closed, it puts that pressure on the oxford hollow rather than the glue itself. This then allows the newly glued and built back spine to last longer.


After this process is completed and the glue is 100% dry, I then glue the spine of the cover back to the spine of the Bible text block. I set something heavy on top of it and let it dry overnight. The next day I take the Bible out of the book press and then glue the page where the cover pulled it apart to the Bible text block. Which basically I re-glue it to the next page along the inside close to the spine edge.
Once that dries, I then go through the Bible and use my paper iron and smooth out any pages that are wrinkles and any corners that are dog eared from use. This process can be a little tedious sometimes and the wrinkles aren’t 100% removed, but it does smooth the page back out. I will say that it is satisfying to have the pages and corners ironed out that need it. It is a small thing per se, but really brings the repair of the Bible together.
And there you have it. The final product. I was very pleased with how this repair turned out. I also want to mention that I would only recommend this process if your cover is in good shape. If the cover is falling apart or tearing, or is beat up, then I would recommend having it rebound with new leather.
Thank you for reading this and I appreciate all of your support!
Here is after all of the repairs were completed.


Leave a Reply